

How to take better photos with your phone- kids and adults beginner photography
- Jun 23, 2022
- 13 min read

You look through your friend’s gorgeous Instagram feed and you get jealous- their photos are gorgeous and yours look like a hot mess.
Let me spill the secrets of a great Photo- especially for Instagram.


First of all-it all starts with good lighting.
This photo was taken in the bathroom (obviously). But the light was coming in so nicely from the open window.
Yes, you can go crazy and buy professional lights that you plug-in with softboxes, but the best lighting comes from a beautiful large natural light source, like a door or a bay window.
If you have bad lighting, then yes, you can try to edit it out using snapseed or vsco, but it will still not be as crisp and beautiful as if you had better lighting.

Secondly, get close.
Don't be afraid to get close to the object- uncomfortably close- yes you might feel ridiculous taking a picture of something at the restaurant with everyone around.

Thirdly, edit your photos.
After getting the shot with good lighting, editing your photos really make the photo shine!
Here is one example:

Here is the edited version.

Recommended apps to use:


Fourthly, take your time
Just know that taking good photos, setting up the photo and removing anything in the background PLUS editing the photo for your instagram takes TIME.
Your friend's amazing feeding probably took a lot of time to make- time that you may or may not have. Taking great photos and putting them online is an investment of time.

Bonus: Don't just keep your photos on the phone, print them out.
There are so many great apps or websites to print your photos. Ranging from taking a lot of time to taking NO time at all.
Making a photobooth in MINUTES on your phone

Connects to your facebook account and automatically makes a photobooth with comments and screen shots of video within minutes

This app automatically sends you a photobook when you upload 60 photos to your instragram

Another app that automatically sends a photobook right to your mailbox from the photos you already take.


So it's up to you.
Taking photos of your family and their moments is a must. Yes you can do it. It all about finding good light, editing the photos and taking time to make them look beautiful.

I was thinking about my own instagram feed. Alot of times, it's just me posting about random things my kids do. I don't even give it a second thought when I post a photo. A lot of times, my background is messy, my lighting is crappy and so on.
I am guilty of it too.
But when I looked through my entire feed, I realized that certain photos that I took, stuck out to me as special and unique. After looking through over 1,800 photos from over two years, I began to notice a pattern of good vs. bad instagram photos.
Most of the photos that I liked either:
1. Told a story or had motion
2. Had leading lines
3. had a good use of the rule of thirds.
4. Had good use of negative space.
5. Interesting lighting.
So let's break it down:
TOLD A STORY or SHOWING MOTION:
Does the photo convey a feeling to the audience? Does it make them see a story unfolding when they see your photo? If a photo is worth 1,000 words, then what words are you sending?
HAD LEADING LINES:
Leading lines, are what draws our eye into the photo through actual lines or curves in the image. To see more about this watch this video:
HAD A GOOD USE OF THE RULE OF THIRDS.
Every photo is a space where your eye looks from left to right, just like reading. If your image is interesting enough, then your eye will fall on either corner. Less interesting photos are dead center. To see more about this than watch this video:
HAD A GOOD USE OF NEGATIVE SPACE:
Negative space is blank spaces in our photo. It helps to "cushion" the main subject of our image and isolate them so that our eyes focus on them. Negative space could be a simple white texture or blank space. To see more about this, watch this video:
Here are some examples from my feed of my favorite instagram photos following these rules:
INTERESTING LIGHTING
Does your photo shows good contrast in lighting? Or is it taken in a bathroom? Does the lighting convey shadow and depth? Natural light is always best with camera phones. Try not to use flash unless it's a dire emergency!


Hopefully, this gives you some good examples of what good instagram photos look like when you follow the five rules.
Now it's your turn to try using these rules in your photos...
I would love to see your "before" and "after" photos of what you learned.


See Contrast
See shadows and contrast while taking pictures during a hot, sunny day. Shoot in the early morning or the late afternoon to get the high contrast of shadow.

Look Up
See the world in a different way by just changing your point of view. Lie down in the grass, be patient and wait for just the right moment. Put your camera on burst mode and pick your favorite photo.

Clear the Clutter
Wipe your counter, take out the trash on the ground. Clear the area and make a very simple and clean photo.

Silhouette it up
Shoot right before the sunset and shoot with your subject in the dark against the sunset to get some really interesting shadows and contrast.

Find Textures
Walk around your home to see interesting textures like blacktop, harddwood, cement, tile or even grass. Use these textures for negative or open space in the photo.

Shoot at good times
Really be aware of lighting during any shoot, no matter the camera. Lighting the medium where all photos come from (the very name PHOTOgraphy has light in it!) Shoot during "Golden Hour" when the sun is low in the sky to get a beautiful light halo around your subject.

Find lots of sky
See negative or open space all around you while you are lying in the grass, walking up a hill, or even getting a new perspective somehow.
Edit Edit Edit
There are lots free editing apps for your photos like www.snapseed.com, but there are also some wonderful paid apps like www.vsco.com or Lightroom
You want to really crop out what you don't need, simplify and recolor!

Use Lots of Space!
I love using white space or negative space when I am doing flatlays. I love arranging things in a particular order and then using textures and props to tell a story.

Add Elements
For food photos especially, adding cinnamon on the baking sheet, adding a napkin, spoons or eggs really tell the story of your baking adventure!

My husband just bought me flowers. So of course, what does any photographer do? Challenge myself to think outside the box and take photos of them, not using my professional gear, but using my IPHONE!
I discovered really quickly how an iphone is limited. But with the right lighting and some creativity, you can have great results!
See my video here:

Lighting is the number one way for your photos to look amazing. Use a natural window lighting source if possible. Or, if you are in the dark like me, use a creative lighting source that is white. For example: fluorescent lighting, LED light or video light.

Put your image to one side of the frame. That way there is space for your subject's eye to rest. It also draws them into your focal point. Plus, you can also write text on the side.

Use a plain or neutral background if possible.

Using an editing app like VSCO, lightroom mobile or others can really enhance your work!
So I usually post about how to take great pictures with a DSLR. But let's be honest. Most people don't own one. Most people just have a phone. And I would say that most people have a phone with at least a decent camera (8 mpix or higher). Iphone especially are known for great camera sensors, which is the secret ingredient for better photos, not just mega pixels.
I wanted to show you a simple way to remember that better photos is all about three things: BETTER LIGHTING, BETTER ANGLES and BETTER BACKGROUNDS. These principles can be used for any other type of photography as well.

1. HAVE BETTER LIGHTING- soft shaded window light or natural light is best
2. HAVE A MORE INTERESTING ANGLES- The angle of your subject is very important. If the angle is too wonky, then it looks wierd. If it's too straight than it looks boring. It's also about placing the subject in the right light that shows off their "good" side"
3. HAVE BETTER BACKGROUND- something that is going to enhance the image is best. If it's too busy or crowded, the image looks too distracting!
To illusrate this, I have bought a bunch of bananas to show how anything, no matter how boring, can be made "exciting" through the right background, lighting and angle!

It's the same bunch of bananas! But with a little practice, the right lighting and the right angle, the image is SOO different, even with a boring bunch of bananas.
Here are the steps I took to get there:


I would love to see your "before" and "after" photos of what you learned.


Well, we have all seen ads for these pretty nifty lighbox thingys on facebook and instagram. But, they are pretty expensive! (You can buy it here, if you are interested!)
Selling stuff on ebay, etsy, amazon or other e-commerce sites? You are going to need a more professional images to get you to a sell
But what if there was a way to make one from some stuff around your house and the dollar tree?
Gather your materials:
4 foam poster boards
2 regular poster boards
1 tablerandom LED (they burn light blue in color) light sources
tape
wax paper for diffuser panels.
Now set it up. (see the video above.) Use the free app RAW + for more manual control of your phone camera.

Now it's time to edit the photos. I use SNAPSEED for all of my phone editing needs.

Now snap away and show your work.
If you don't have LED lights at home, use a LARGE light source, like a big window or garage door.

Afraid that you’re never going to be able to have some creative video content with your kids with just your mobile phone?
The biggest myth that I love to bust on my social media profiles that I’m able to build five businesses full-time with the latest in devices in gear
I’m actually using a four year old phone and older lens is to create all of my content from my clients and family.
Here are some tips to better mobile video of your family, loved ones and the same principles can be applied for media contact for businesses!
✅Change your angle. Lay low to the ground, don’t be afraid to get dirty or in the grass to get a really interesting angle
✅ use the slow mo function on your phone a lot to get some really cool slow action shots that look really epic!
✅ move very slow and steady in one direction to get a slow pan effect
✅tell a story by stitching your continent together using one of my favorite apps @videoleap_by_lightricks
✅create an epic slideshow filled with effects and really cool music- my favorite app for this @beatleap_by_lightricks
✅ take several shots of one thing so that way you can pick from the best


I was at Busch Gardens the other day with my family and wanted to see what it would feel like not to carry around my bulky pro DSLR and just walk around using my old iphone 8.
I was surprised that even with a lack of lenses or special lighting, how I could find little corners, little door ways and little spots that I loved at the park.
Want to learn how to take better photos with your phone? Learn my 10 secrets of ways that I use to find a moment, frame it, shoot it and edit it- all on my phone!

1. THINK OUTSIDE THE BOX
Shoot at an interesting angle- under something, over something, through something- don't just take a regular picture- tell a story through your view.
shoot laying down on the ground, over a table, through a keyhole- whatever it takes!

2.FIND A REPEATED PATTERN
Fill your entire frame with something colorful, different or filled with texture.

3. USE THAT PORTRAIT MODE
Make sure that your subject is 5 feet or more from the background so that you can make it seem that is blurred out more then it is..

4. USE COLOR TO TELL A STORY
Every shade of color tells a different tale- reds are bold and exotic. Blue is calming. Yellow is alerting. Find color and fill your shot with it.

5. CUT YOUR PHOTO INTO THIRDS
Put your subject or main person on the far left, the far right, the far upper third or the far lower third. It makes your subject follow their eyes to where your main subject is so that it's more interesting.

6. SEE THE LIGHT
The sun is a very powerful tool in your photos. Use it to light up your subject or create a burst of light. Try moving around your subject- seeing what the light is doing at different parts of the day. Most photographers like to shoot right before sunset. My favorite time is 10 and 4, where the light is stronger.

7. SEE FRAMES AND LINES AROUND YOU
See frames, doorways, fence posts, archways- anything that will frame your picture.

9. GET CLOSE- LIKE REAL CLOSE
Find small things that the world doesn't notice- like a small insect, a flower, the light peaking through the leaves.

10. EDIT YOUR WORK !
All of these photos were taken in a course of two hours and I only use the free app snapseed to edit them over the course of a few minutes over lunch.
WANT TO SEE OTHER PHOTOS FROM THIS SET?


NOW IT'S YOUR TURN
So get snapping, look for the light, be creative and see things around you. If you need to, go on a "photoshoot" to a local downtown with a friend and see what you can do!


Want to know how I created this with my phone?


Get set up!
I used the following supplies and props to create the image above:
Boom arm for getting that flat lay reach is so important
Tripod mount for a phone is imperative
A basic tripod is fine- nothing fancy
these are SOOOO helpful when it comes to fitting things and brackets onto your own equipment

I love using this type of sign for this type of flatflay!

glitter backdrops are always so fun
add a touch of glitter

Now to start shooting!
Rearrange each letter at a time and take a picture in between each shot!

Now start editing!


Then put the file image all together!


Sitting around and want to take better food photos from your home but don't know where to start?
Believe me, you don't need fancy equipment, an expensive camera, a full studio or even tons of money to get started.
Find some food laying around your house and let's get started. Make sure that your editing your photos to get the best possible results.

It all starts with a great lighting source. If you don't have access to flashes, not a problem. Actually my favorite light to use is a HUGE bay window, a garage door, or a large kitchen area.
The bigger and softer the light the better!

Embellish your photos with beautiful ribbons, glitters, matching plates, cutting boards, spoons or whatever you have laying around the house.

Have your focus point find an interesting item so that your viewer can see something that looks delicious. If you aren't using a fancy camera, you can also doing this using a simple editing app like instagram or snapseed.

The best place for me to find textures, fabrics or glitter is actually the dollar tree! You can find so much ribbon, place mats, fake wood cutting board, little boxes and more!

make sure your background is free of trash, debris, litter or distracting elements!

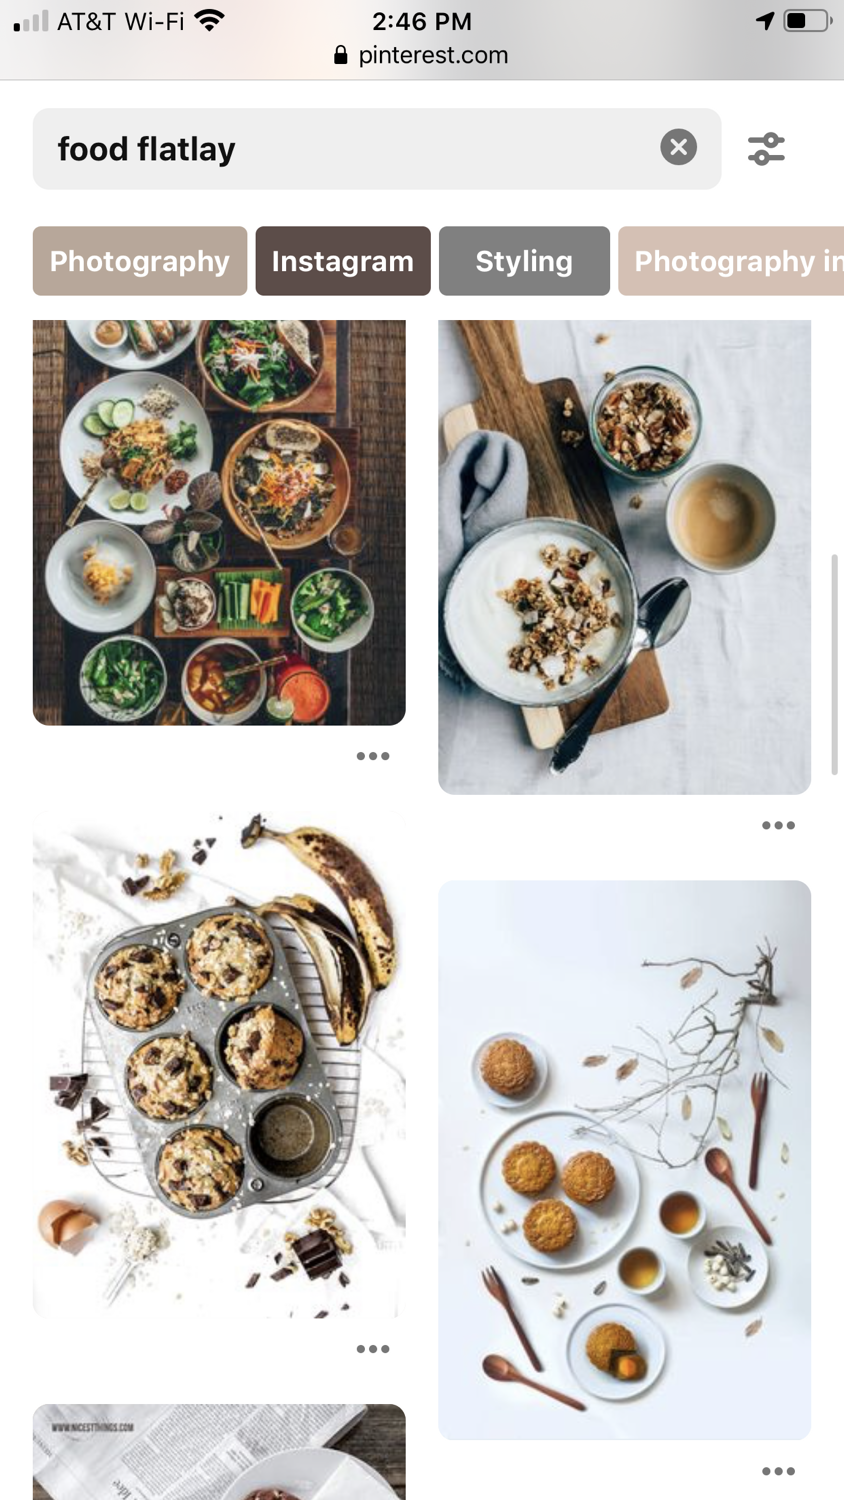
Place your food on the floor, a low table or you stand on a chair to shoot down on your food. This is called a Flatlay and they are VERY popular all over social media!

Putting your camera REALLY close to your food is a great way to show detail, texture and moisture! Have a variety of big and wide shots and detail shots!

Make sure when you are picking flowers and elements, that you are matching the color scheme and the vision. You don't want to put clashing colors together!

Garnishes, sprays of water drops, seasonings, salt, parsley and other little details goes ALONG way to creating appetite and desire!


Ever been looking over through Pinterest or Instagram and see some amazing food photography?

You might be tempted to go to an online store that sells food photography backdrops like
Replica Surfaces but they sell their 2‘ x 2‘ textured squares for $80 apiece!
I was able to get four differen 4 feet textures for around $100!
You might be thinking that there’s no way that you can have your pictures look like that with your limited budget and only using your phone.
Well I’m here to tell you some of my favorite secrets to cheap DIY Photography using only natural light for my living room and some backdrops I got from the local hardware store.
.


The first thing you’re gonna do is go to your local hardware store like Lowes or Home Depot.
you’re then going to go to the paneling and molding section to find wainscot or back paneling use for kitchen walls. I usually get the 4 foot by 3 foot size.


then you’re gonna go to the flooring aisle and find the sticky vinyl planks that come in a box.
I love how easy the sticky ones are to place on the Wanescoating back as an additional texture.


Yes you read that right they were only 6 to 9 dollars depending on how many were in stock or what store you were looking at!
These are just some of my very favorite textures that you’re going to see in this blog post. I only used around nine or so panels and sometimes the store let you individually buy them instead of buying the entire box!


Then when you get everything home it’s time to stick them on the back of the wainscoting depending on what textures and what look you want. Since it’s a giant sticker it was super easy to put on! I had to use an X-Acto knife to cut it exactly with the wainscoting.


Make sure you were setting up your backdrop set during a time where light is coming in nice, big and soft! The living room in my house is the best lighting during the daytime so I used that.


You can always stand over your food and take a flatlay style shot which is very popular all over the internet!


Make sure you’re editing your photos with some free phone apps out there to give it that polished look!


The last tip: make sure that you are shooting in portrait mode on your phone if possible!
Because I didn’t have any food made when I got back from the store I just played around with these apples from my pantry to give you an example of the look that you can achieve with some simple equipment!
.
Wanna see some examples of what it would look like to shoot food in natural light using these surfaces?


I would love to see other ideas and how to save money and use DIY equipment to create beautiful images!


Taking a flatlay photo isn't hard, you just need to have the right tools.
You first must start with lighting. go to a sunroom, a garage or a very well lit room.

Then you must think about props and what you want to put in your flat lay. You can use different color poster boards, wood textures or anything else you can find

Then set up your scene and be careful to leave a lot of space in between objects.
stand on a chair or a ladder to get high enough.

Take a few pictures of each item to make sure have just the right one.

Then edit! Use a mobile app like SNAPSEED, VSCO or LIGHTROOM if you don't have access to PHOTOSHOP.

Really bring out your flatlay with some custom text or typography from CANVA, ADOBE SPARK POST, PICLAB or other apps.

now go out there and create some great stuff!

Comments